Unimus makes Network Automation and Configuration Management easy. It mainly focus following three functions:
- Network Automation
- Configuration Backup
- Change Management
And more can be found from this link: https://unimus.net/features.html
Diagram
Free Tier
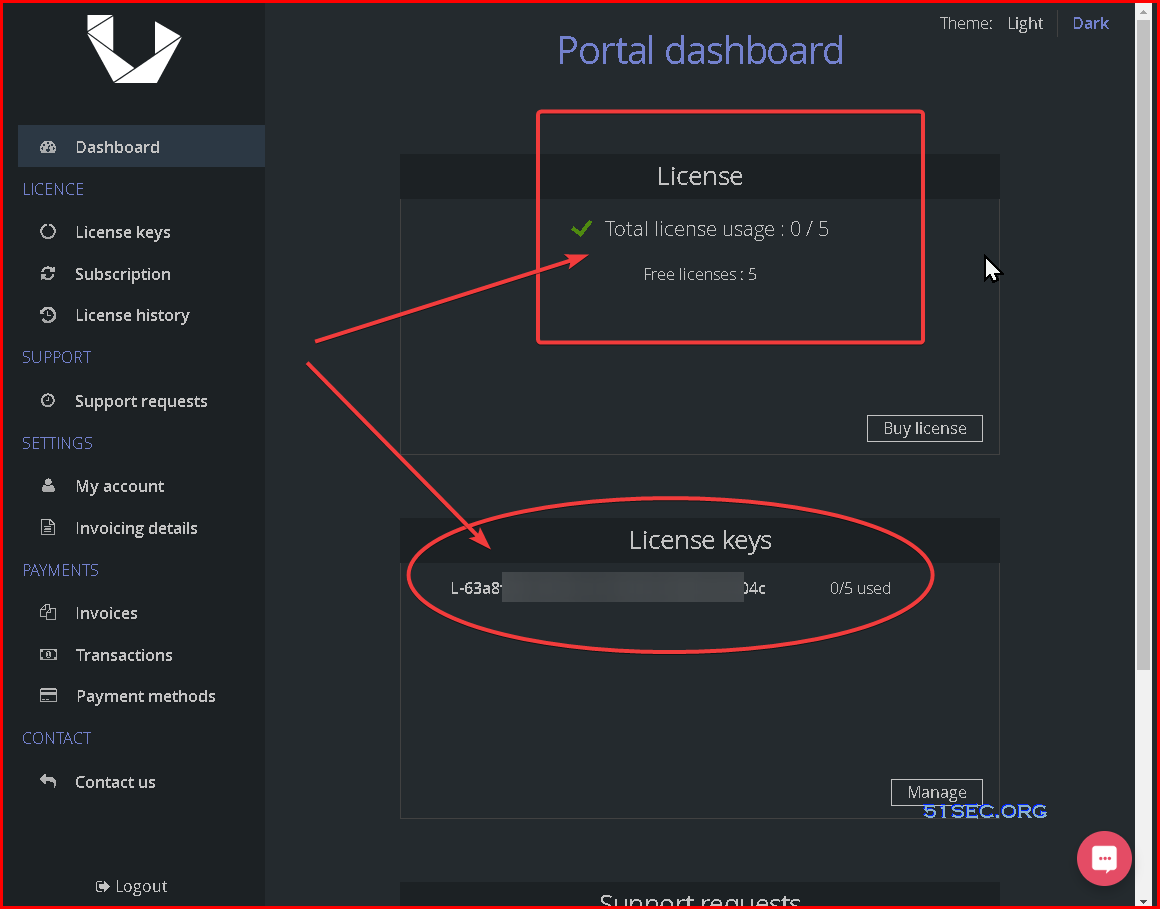
5 device licences are completely free, without any time limitation, or any other catch.
Each new registered account will contain the free licences automatically.
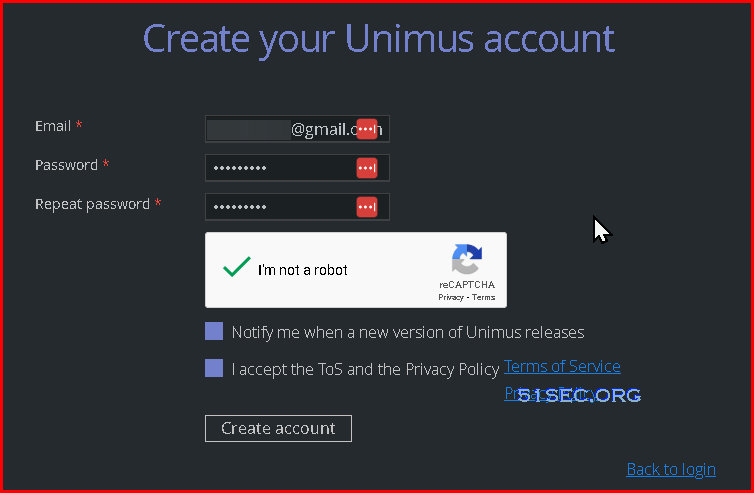
Register a new account
Only thing you will need is an email address. Once you click the link in the confirmation email. You are all set.
Log in to Portal Dashboard to confirm your free licenses
Download, Install, Run (Windows version)
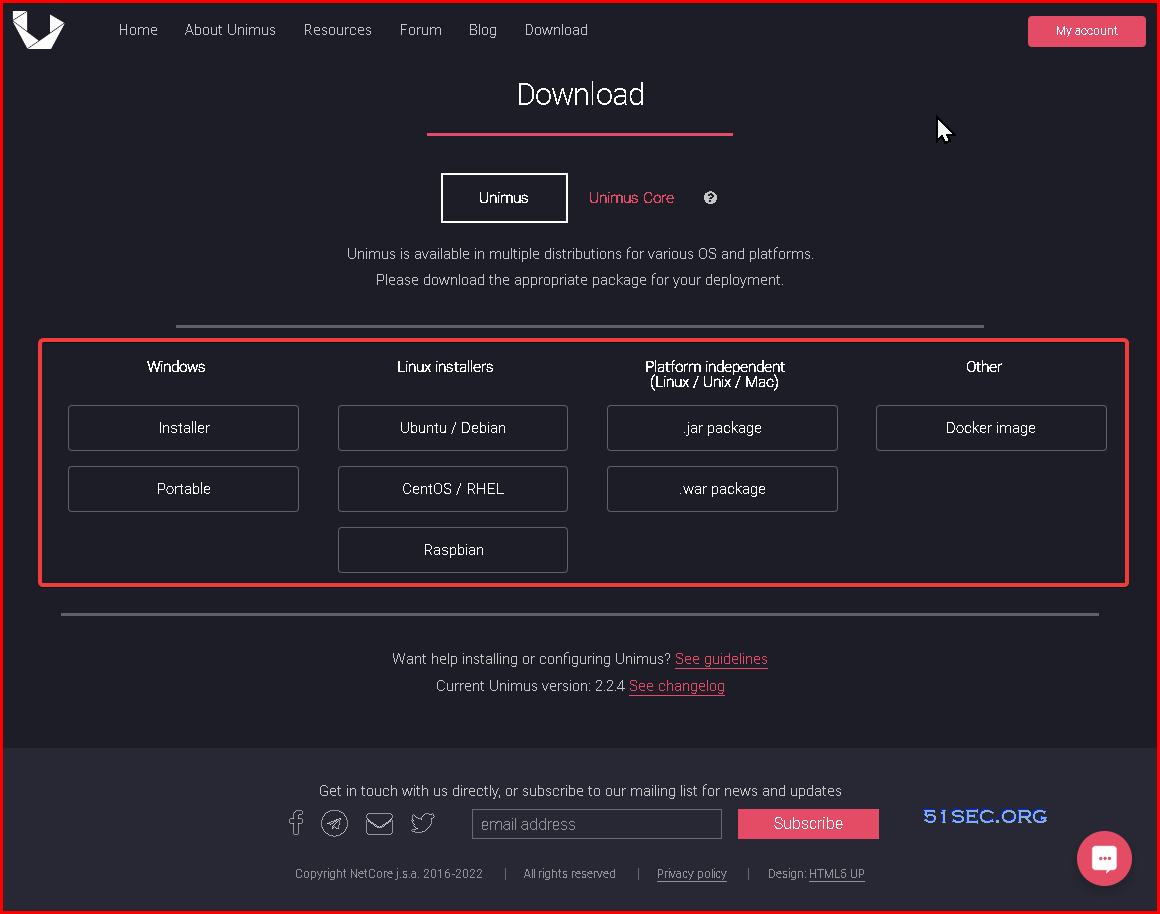
1 Download the software based on your OS and platforms from link: https://unimus.net/download.htmlThere might be some pre-requirements such as Java
Unimus is written in Java, and requires a JRE (Java Runtime Environment) to run.
We support Java 8-11, and you can use Oracle, OpenJDK or Corretto JRE. Here is a download link: https://www.java.com/en/download/manual.jsp
We support Java 8-11, and you can use Oracle, OpenJDK or Corretto JRE. Here is a download link: https://www.java.com/en/download/manual.jsp
4 Run Unimus Portable
To run Unimus in portable (standalone) mode, simply launch the Unimus.exe.
This will open Unimus in a command-line window.
As long as this window remains open, Unimus will stay running.
You can close Unimus simply by closing the command-line window (or use Ctrl+C).
5 Start using Unimus
Unimus will now run at http://localhost:8085, you can access it using your browser.
(substitute 'localhost' for the address of your Unimus server)
Initial Configuration
Once you launched Unimus system from browser window using URL http://localhost:8085, you will be prompted a configuration deployment wizard. The Wizard is a simple step-by-step process and serves as a help system to set up a clean Unimus instance to a fully usable state.
Wizard:
1. Accept End-User License Agreement then Continue Setup
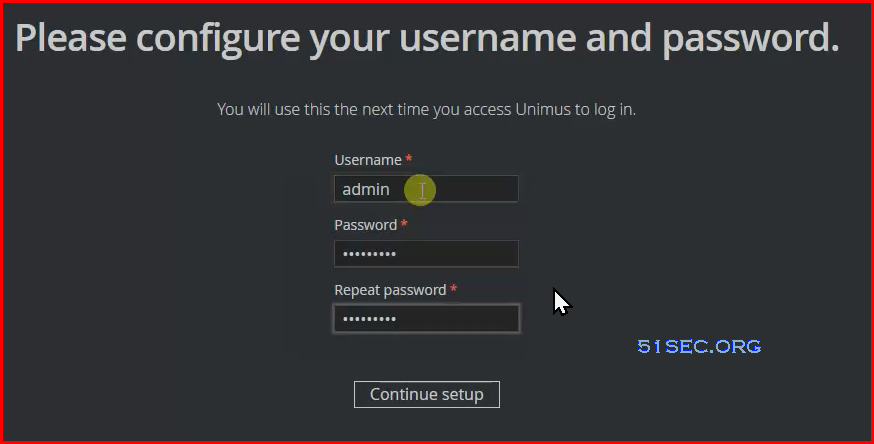
2. Configure username and password
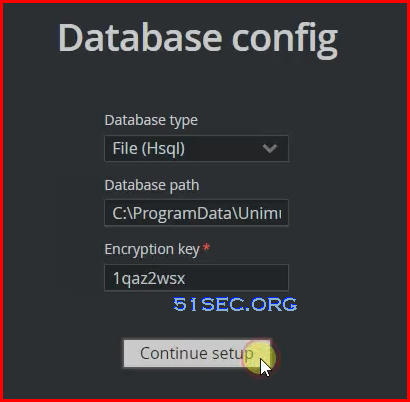
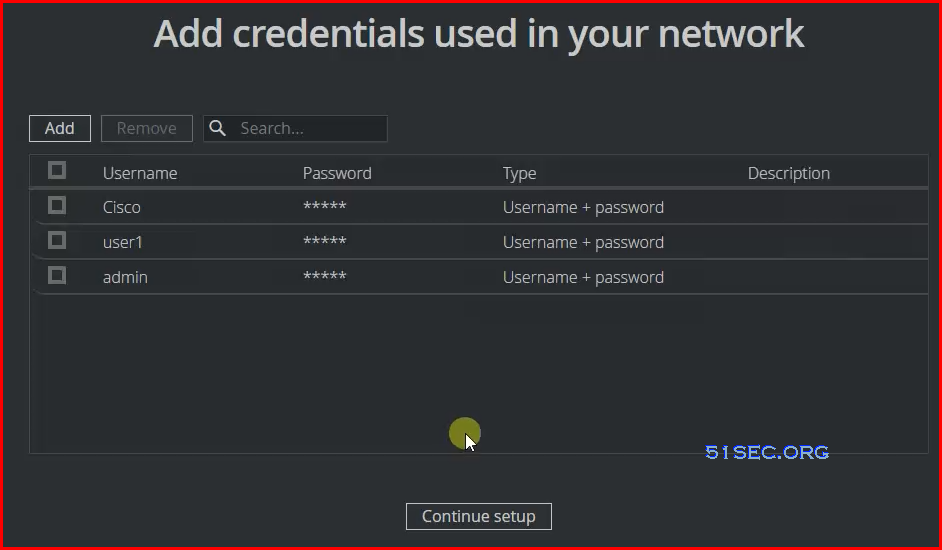
3. Configurate your database connection. Here I amusing File (Hsql) for this lab.4. Add credentials used in your network
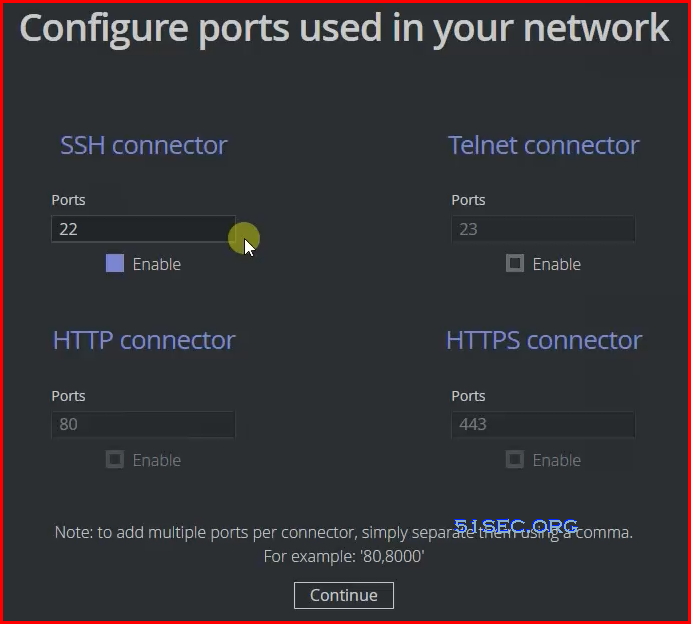
5. Configure ports used in your network. Usually only need ssh port 22.
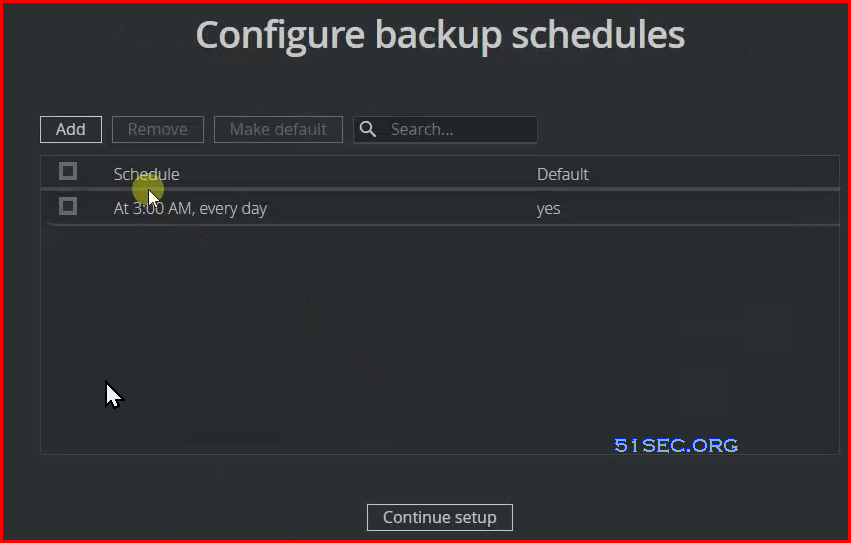
6. Backup Schedule
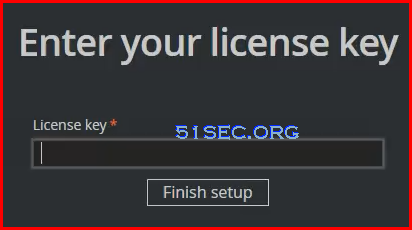
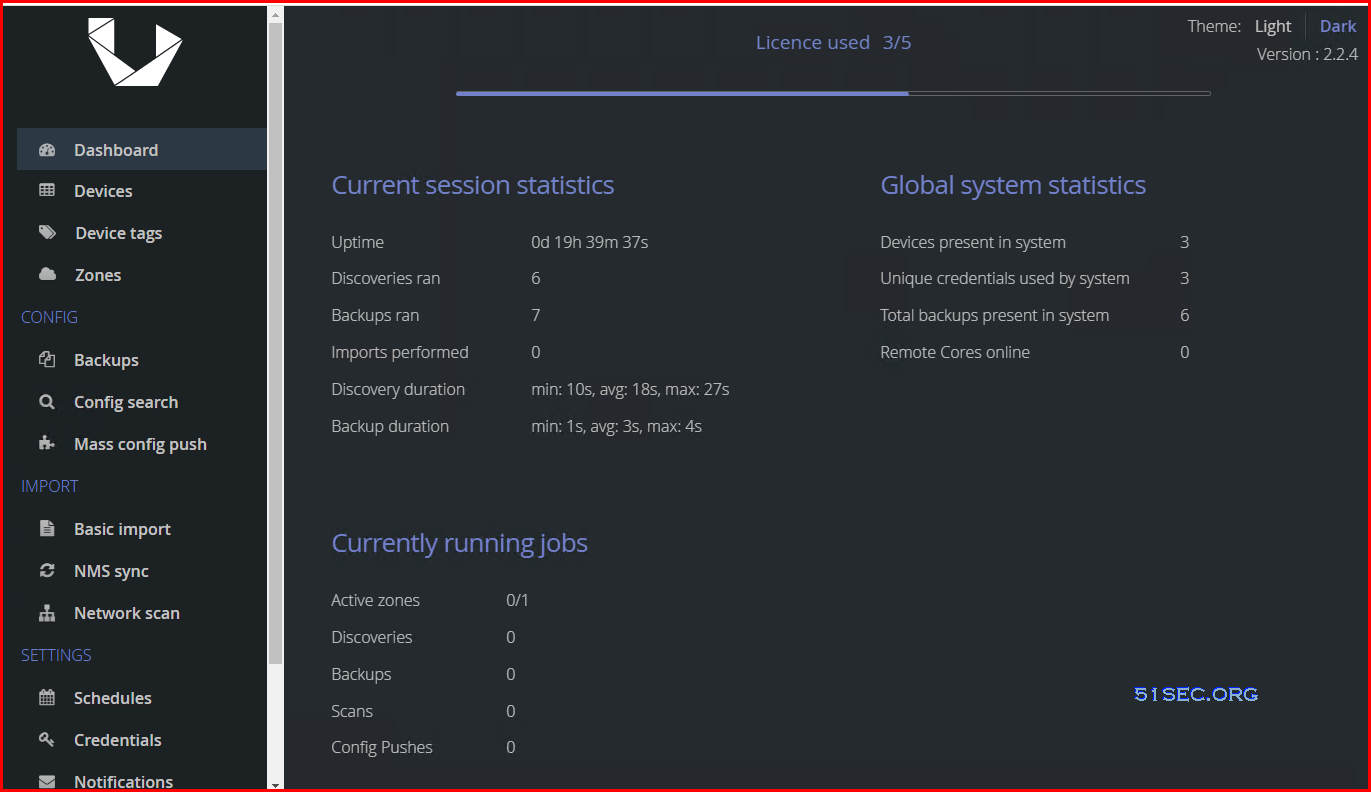
7. Enter your license keyDashboard:
Basic Usage
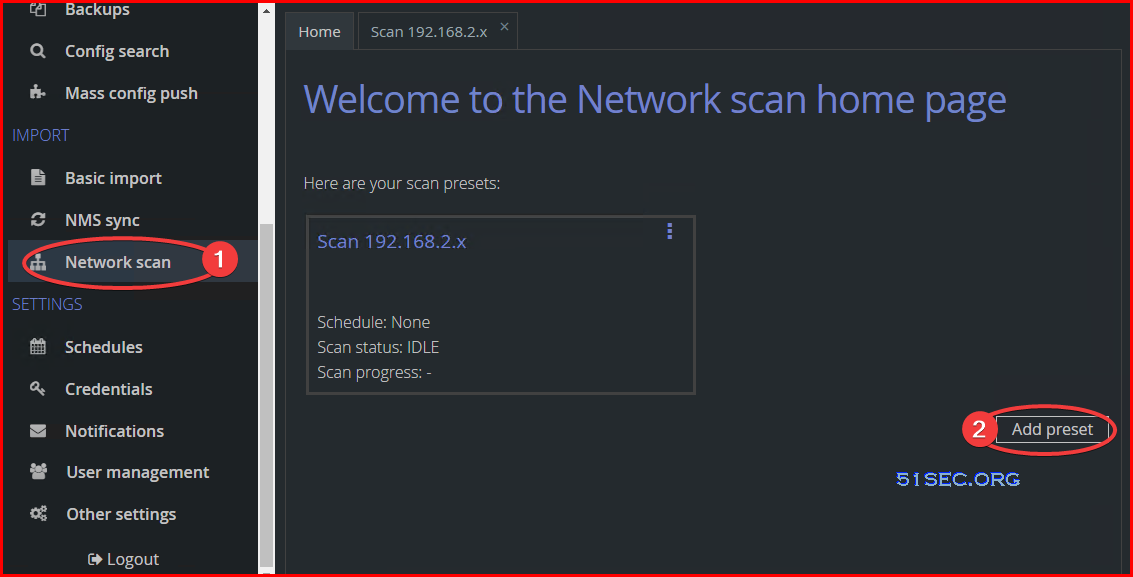
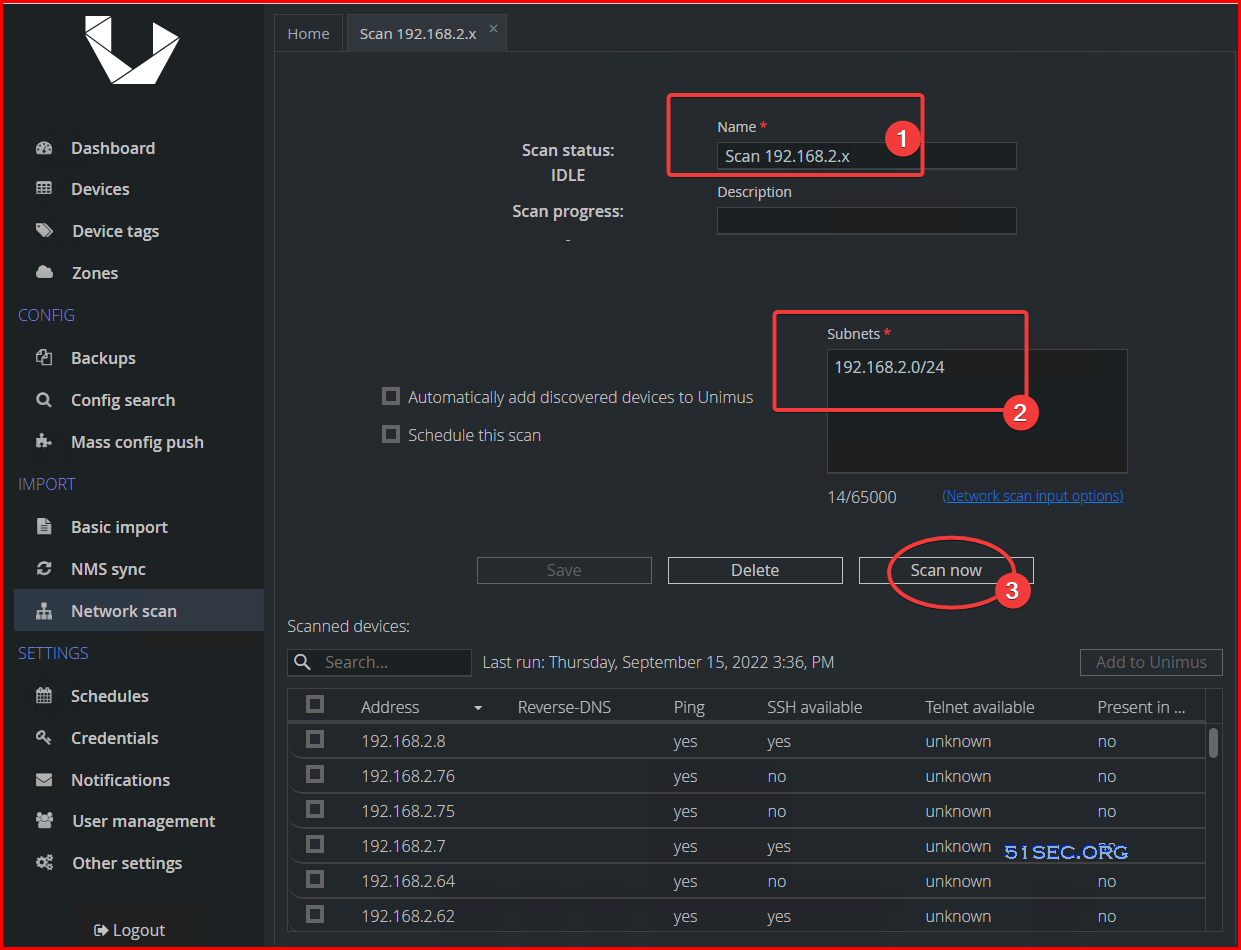
Network Discovery:
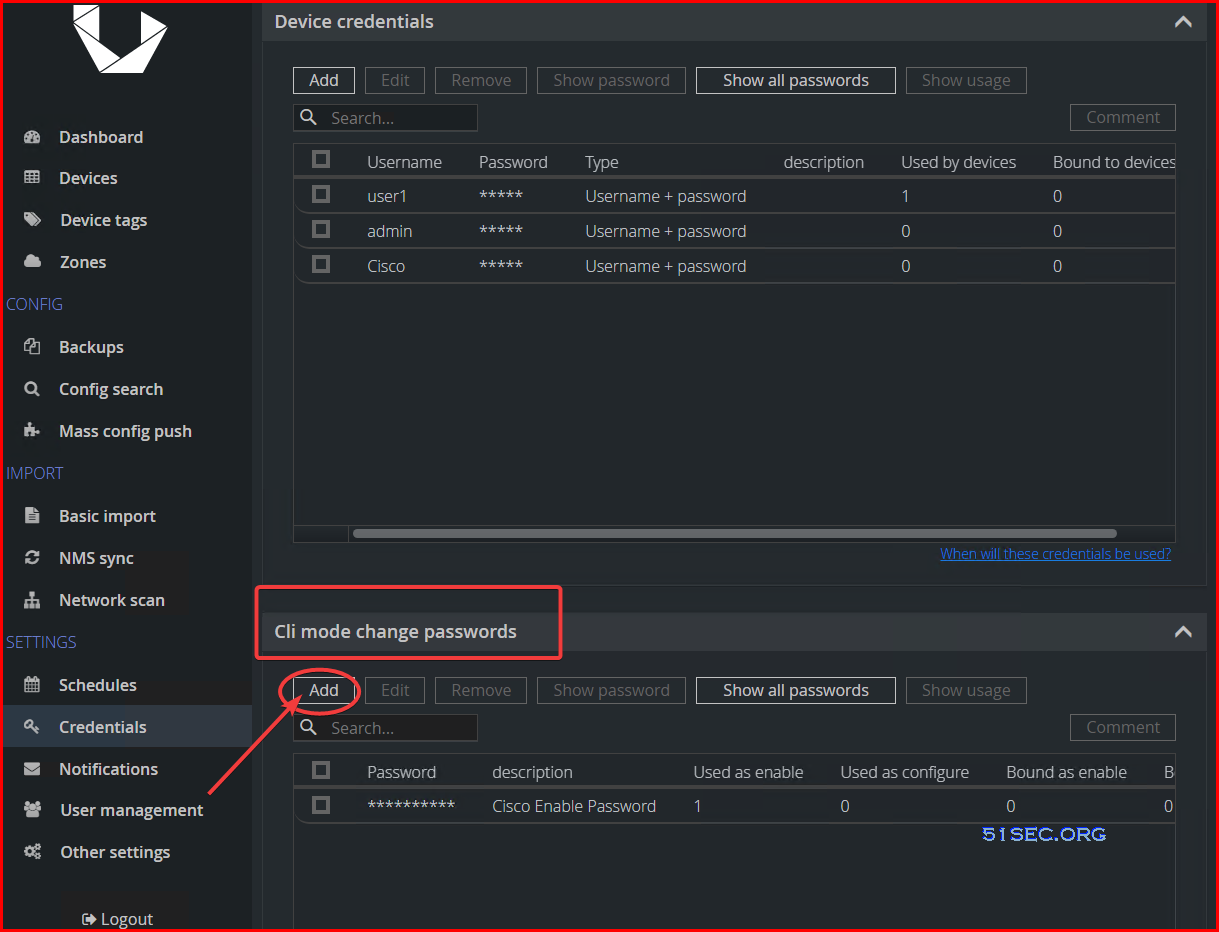
Enter Enable Password
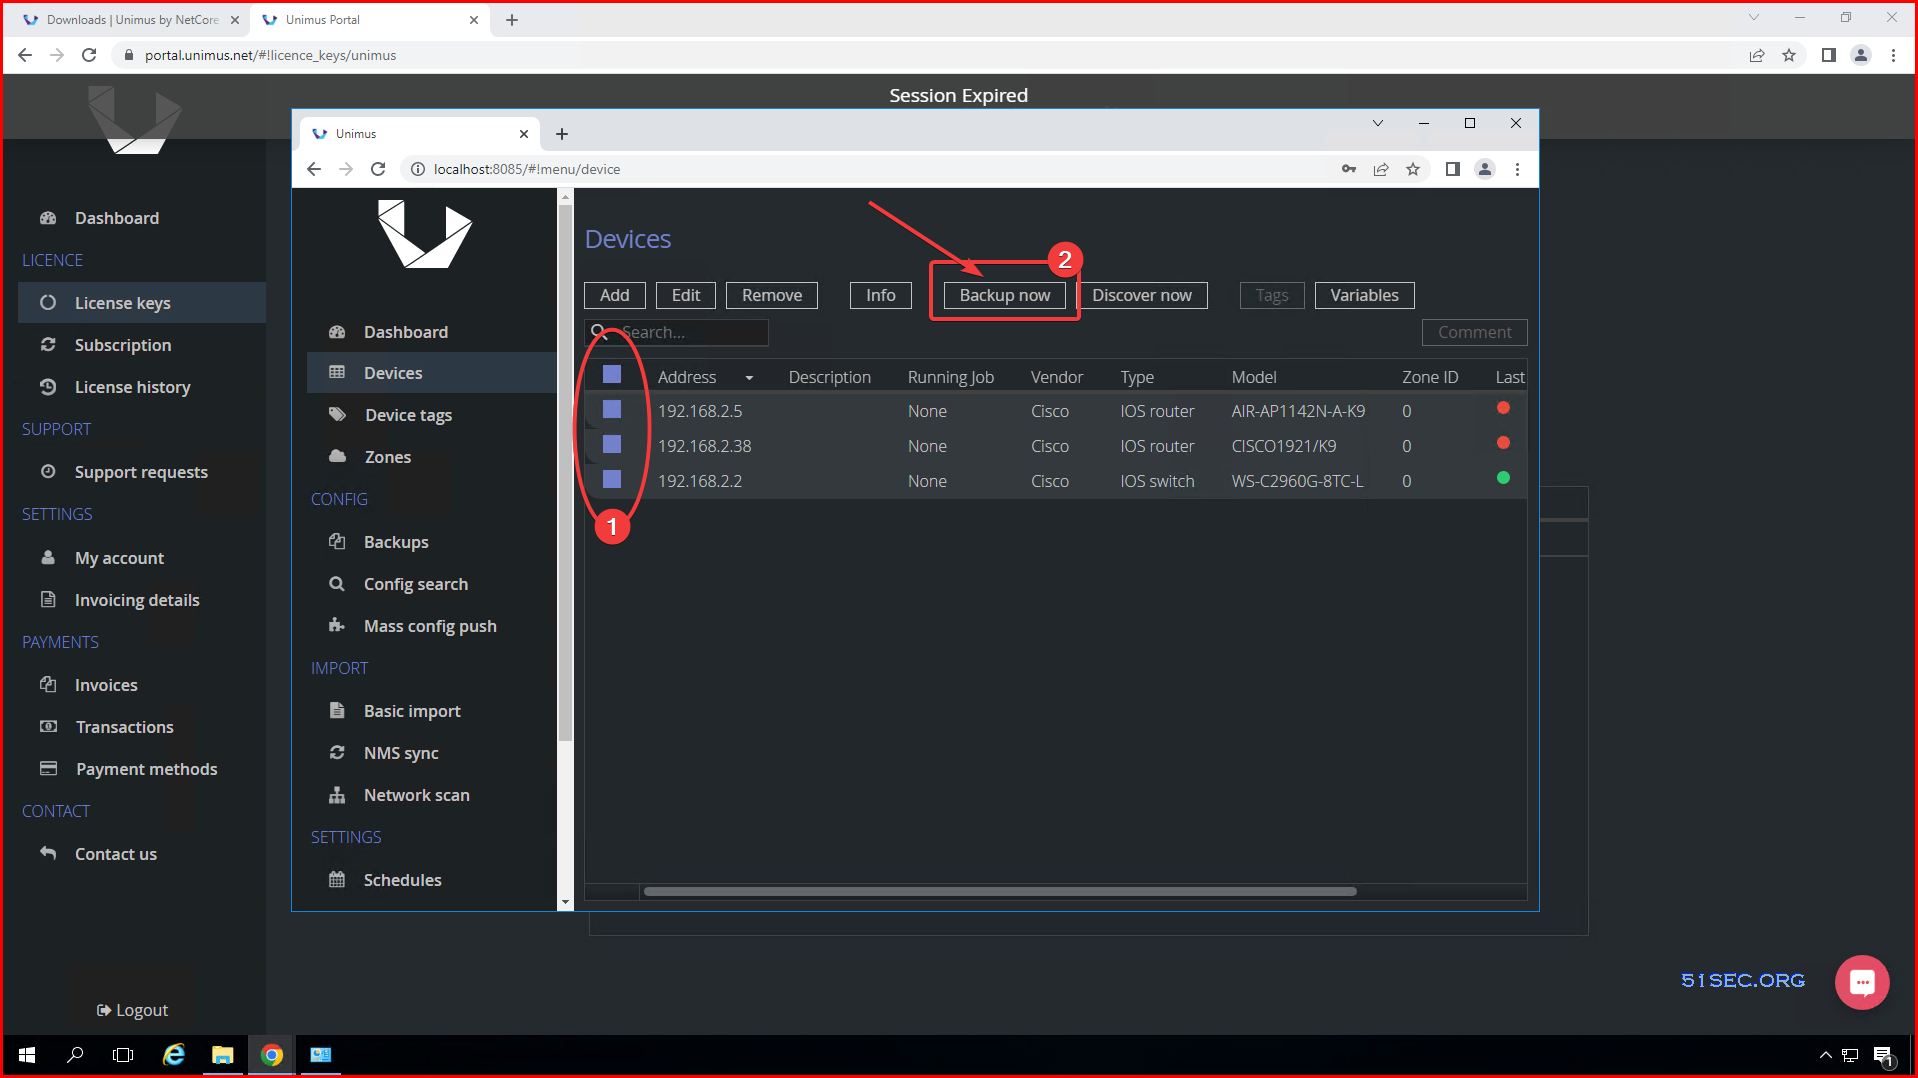
Backup Device Configuration
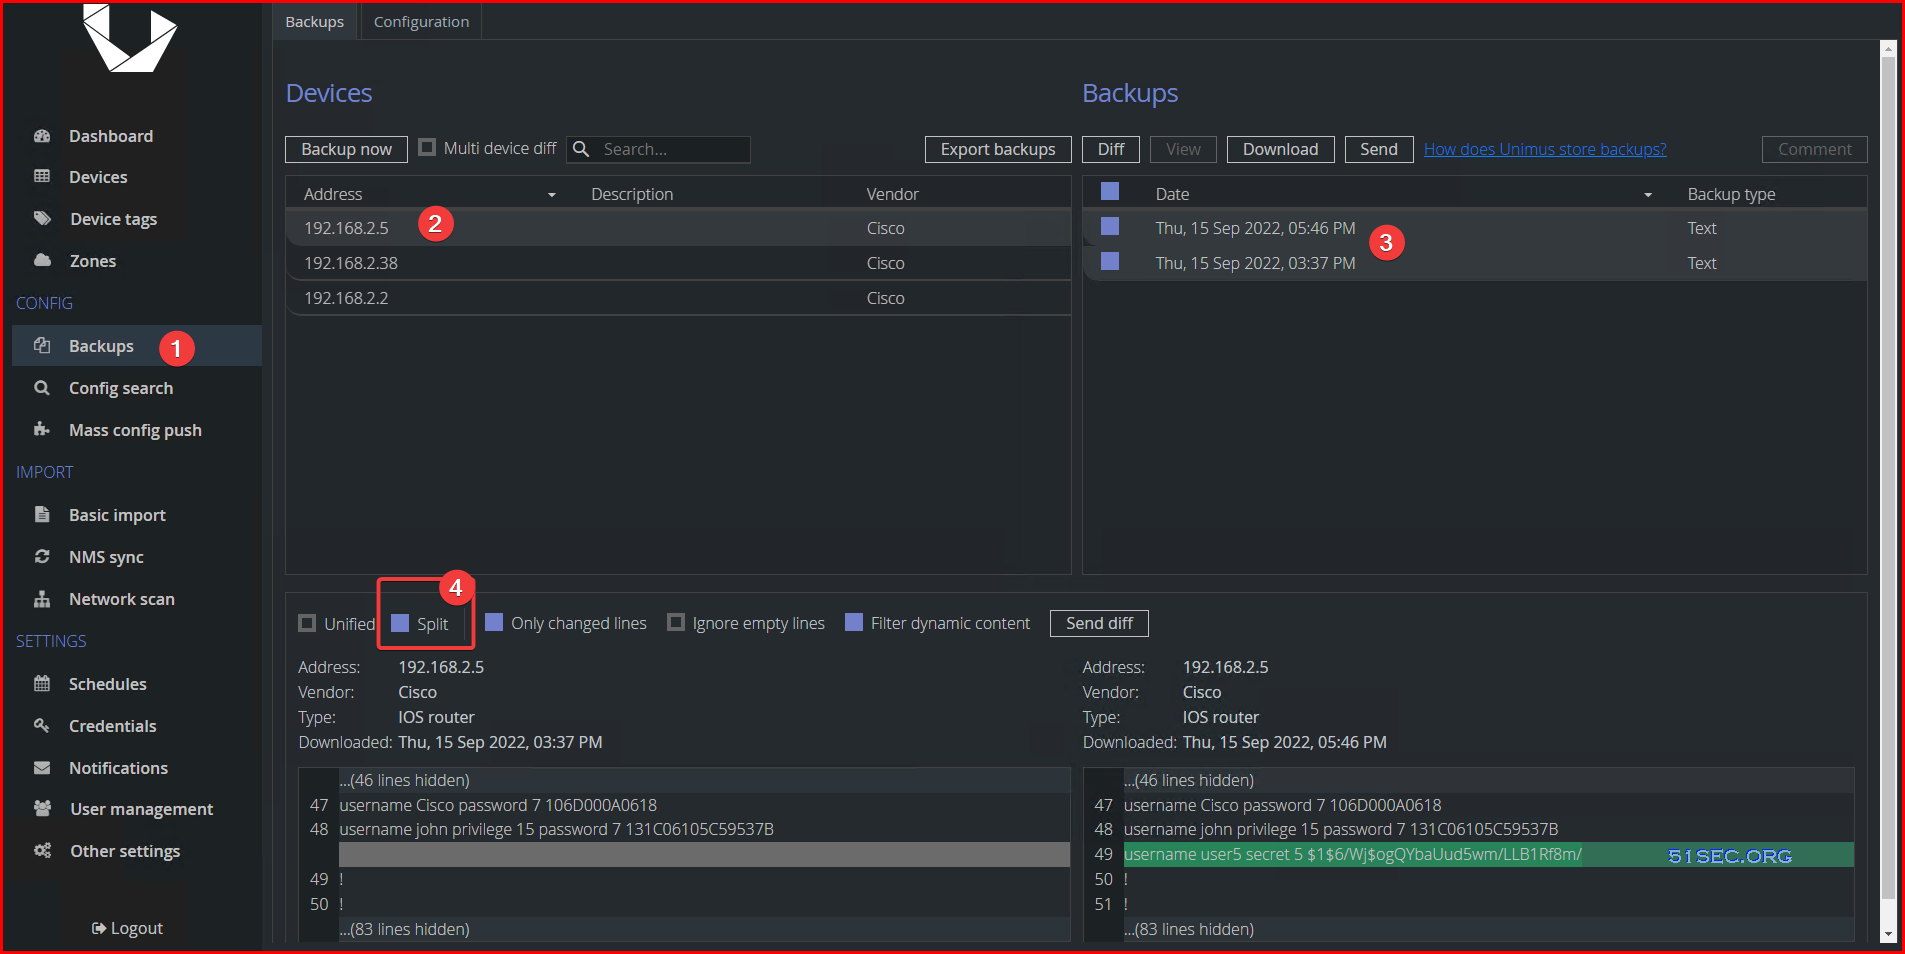
Configuration change management:
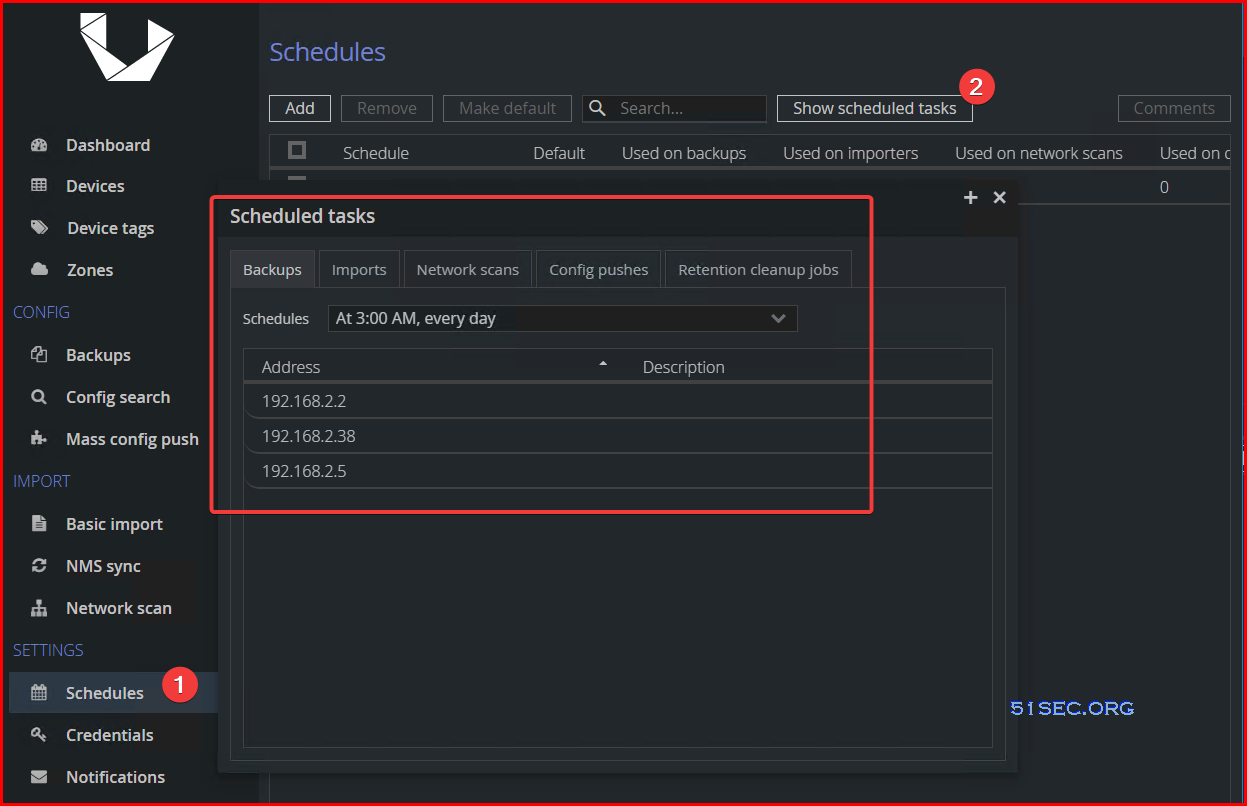
Schedule
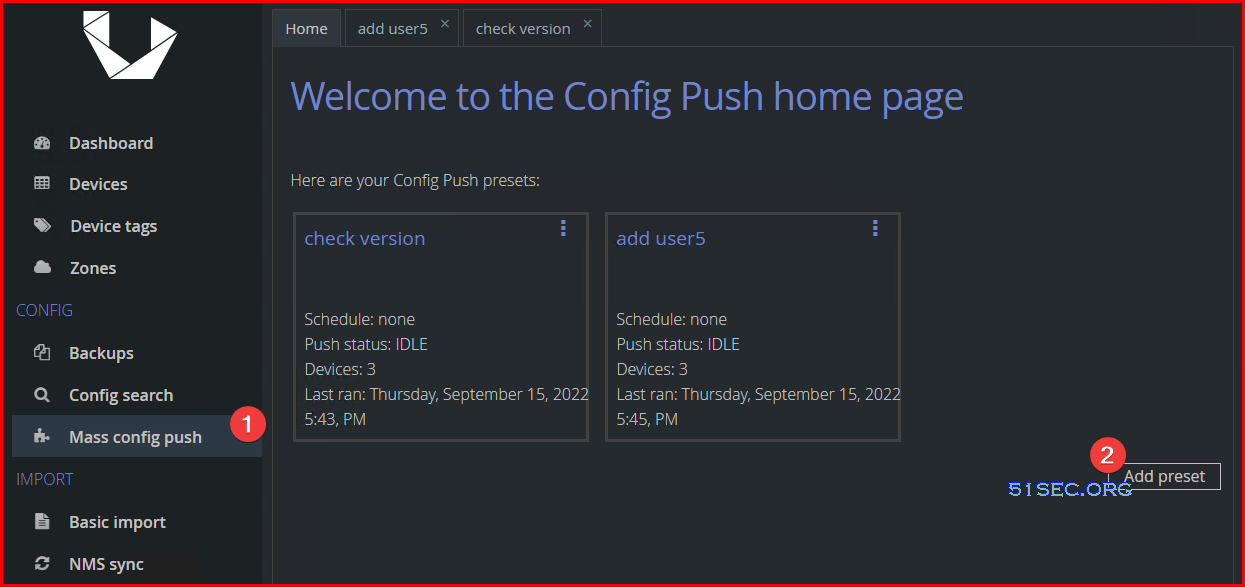
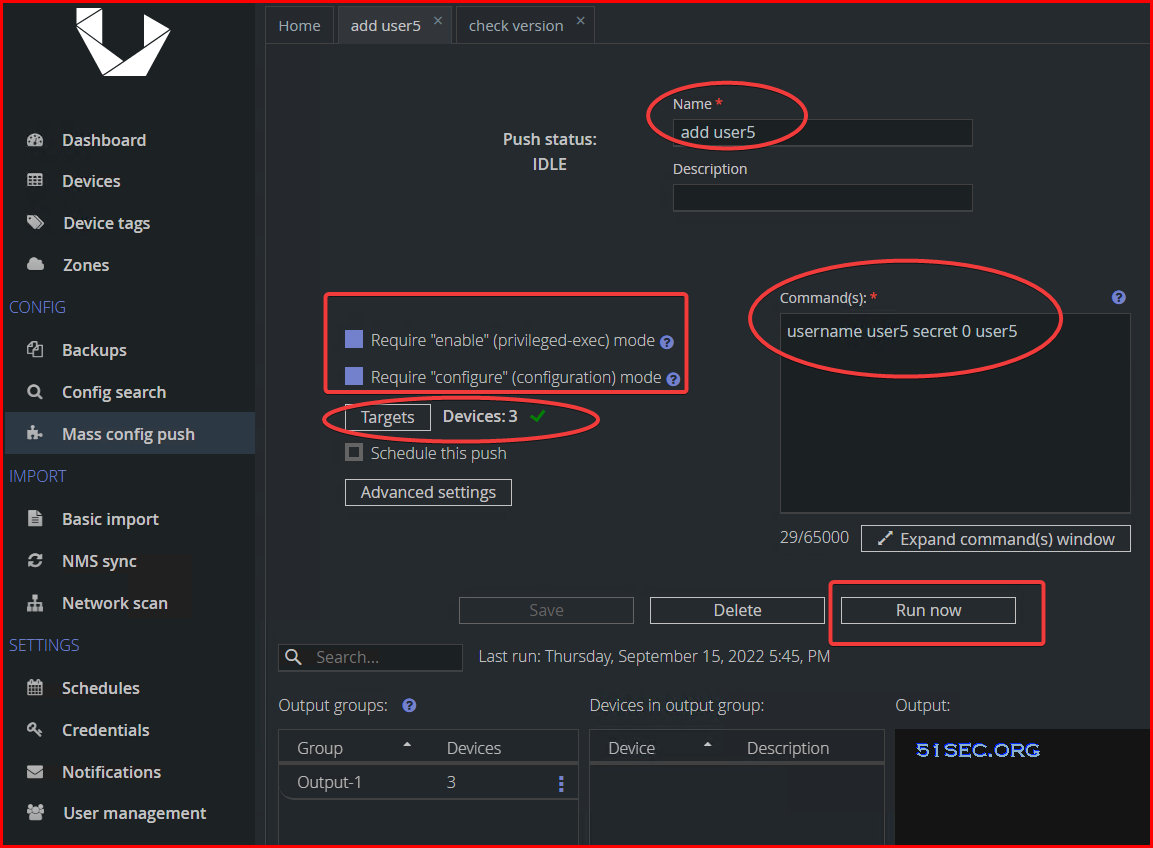
Mass Config Push:


No comments:
Post a Comment